API MPMS 2.8B pdf download
API MPMS 2.8B pdf download.Manual of Petroleum Measurement Standards Chapter 2—Tank Calibration
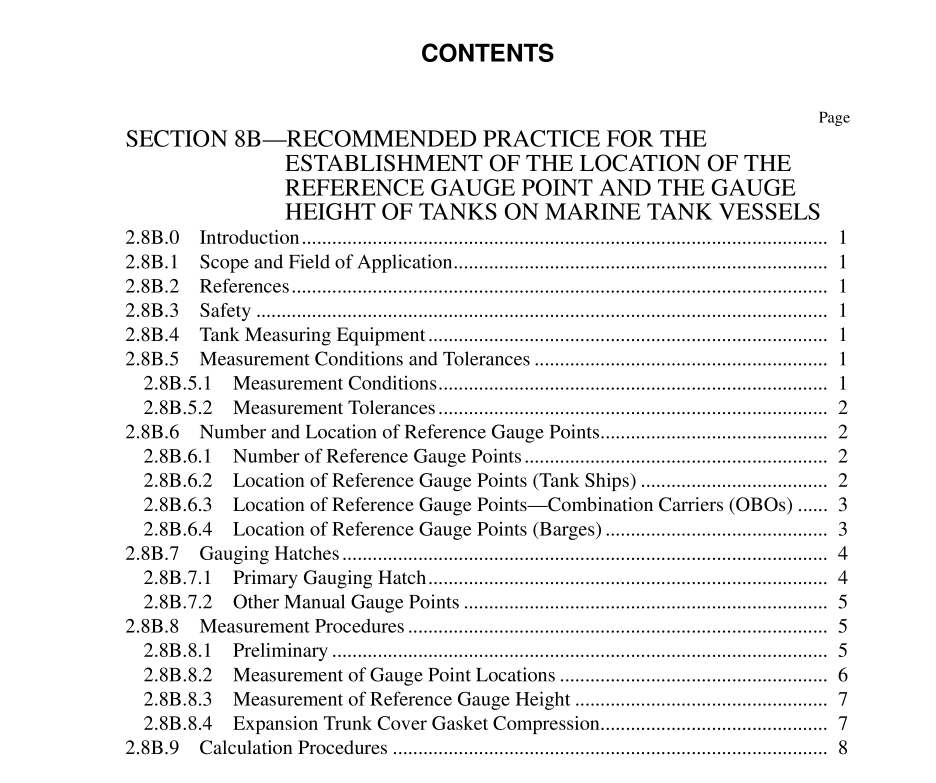
2.8B.1 Scope and Field of Application
This recommended practice is intended as a guide for establishing reference gauge heights during calibration of marine tank vessels. In many cases this calibration is carried out by shipyard engineers who may not be fully familiar with petroleum measurement requirements nor the use of such measurements by petroleum inspectors and tanker oper- ating personnel. This procedure is also for recalibration of vessels. The importance of establishing an accurate reference gauge height for tanks on marine tank vessels cannot be overstressed. Such tanks are generally calibrated in ullages (outages) whereas in measuring quantities remaining onboard (ROB) or free water, it is frequently more conve- nient and accurate to measure innages. The reference gauge height is a necessity in converting ullage to innage. Also, in determining the volume of the ROB, the reference gauge height is a factor in every wedge formula, for the establish- ment of wedge tables. API MPMS Chapters 2.7 and 2.8A provide three methods of calibrating the volumes of tanks on marine tank vessels: calibration by linear measurement, liquid calibration, and calibration from vessel drawings. The measurement and establishment of the reference gauge height, however, can only be determined by direct linear measurement.
2.8B.3 Safety
Prior to entering any compartment, permission must be obtained from the vessel’s master, senior deck officer, autho- rized shipyard official, or other responsible person in charge. This responsible person should be able to supply information regarding particular materials and conditions or the appli- cable Material Safety Data Sheet. Before entering the compartment, a valid marine chemist’s certificate must be obtained indicating that the compartment is “Safe for Workers” and/or “Safe for Hot Work,” as prescribed in National Fire Protection Association 306, Control of Gas Hazards on Vessels. Regulations of the U.S. Coast Guard, the Occupational Safety and Health Administration (OSHA), or other international, federal, state, or local regulations may also apply. Such testing must be made at least every 24 hours or more often when changing conditions warrant. When entering a compartment, another person should stand watch at the compartment entrance for the duration of such entry to sound an alarm should an emergency occur. Normal safety precautions with respect to staging and ladders are to be observed.
2.8B.6.1 NUMBER OF REFERENCE GAUGE POINTS
In the United States, all tank vessels fitted for crude oil washing (COW) are required to have four hand gauging loca- tions in each tank, one of which is to be located in the aftermost portion of the tank, as per U.S. Coast Guard regulations. Note: U.S. Coast Guard Regulations 33 CFR 157.128 (b) state (in connec- tion with design, equipment, and installation for COW), “Each cargo tank must be designed to allow the level of crude oil in the tank to be determined by: (1) Hand dipping at the aftermost portion of the tank and three other locations; or (2) Any other means acceptable to the Commandant.” This wording is taken from Section 4.4.4 of Resolution of the Interna- tional Conference on Tanker Safety and Pollution Prevention, 1978 of the International Maritime Organization. The regulations make no requirement that each of these hand gauging points be calibrated for the total and incre- mental volume of the liquid in the tanks. Each tank on self-propelled tank vessels shall be fitted with a minimum of two principal reference gauge points, each fully calibrated for total and incremental tank volume. The additional manual gauging points are required by COW regulations. The reference gauge heights at these additional hatches may be established for flexibility in measurements, for example, quantities remaining on board (ROB) and/or onboard qualtities (OBQ). Nonself-propelled inland waterway barges may require a total of three calibrated primary reference gauge points as covered in 2.8B.6.4. The location of the primary reference gauge points and the additional secondary (manual) gauging points are covered in 2.8B.6.2 for conventional tankships and in 2.8B.6.3 for Combination Carriers [Ore/Bulk/Oil (OBOs)].
